How to Create 3D Textures in GIMP?
GIMP is a powerful open-source image editing software widely used for 2D image processing and digital art creation. In 3D modeling, textures play a crucial role in enhancing detail and visual appeal. While GIMP doesn’t natively support 3D modeling, its robust editing capabilities make it an excellent tool for creating 3D textures, particularly for texture maps applied to 3D models. This article provides a detailed guide on creating 3D textures using GIMP.

Understanding the Basics of 3D Textures
Before starting, it’s essential to understand what 3D textures are and their role in 3D modeling. Unlike standard 2D textures, 3D textures are used to add detail, color, and material effects to a model’s surface. Common 3D texture types include base color textures, normal maps, roughness maps, and metallic maps. Together, these maps define the appearance and lighting response of the model.
Although GIMP is primarily a bitmap editing tool without built-in 3D editing capabilities, it can be effectively used to create 2D textures and maps compatible with 3D models through certain techniques and plugins.
Creating a Base Texture
The first step in making a 3D texture in GIMP is to create a base texture, which serves as the primary visual element of the model’s surface. This texture usually consists of patterns, colors, or other visual elements.
To create a base texture, open GIMP and start a new image file. Choose an appropriate resolution (typically 2048x2048 or higher for detailed textures). Use GIMP’s brush tool, gradient tool, or pattern fill tool to design the basic style of the texture.
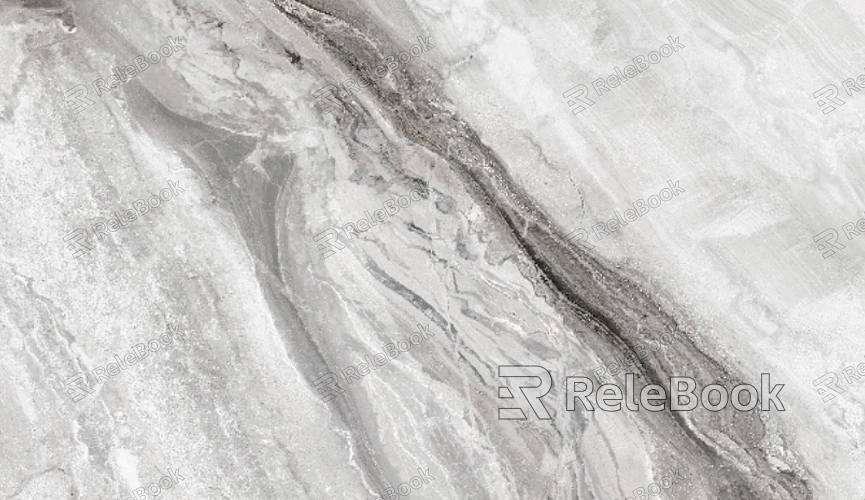
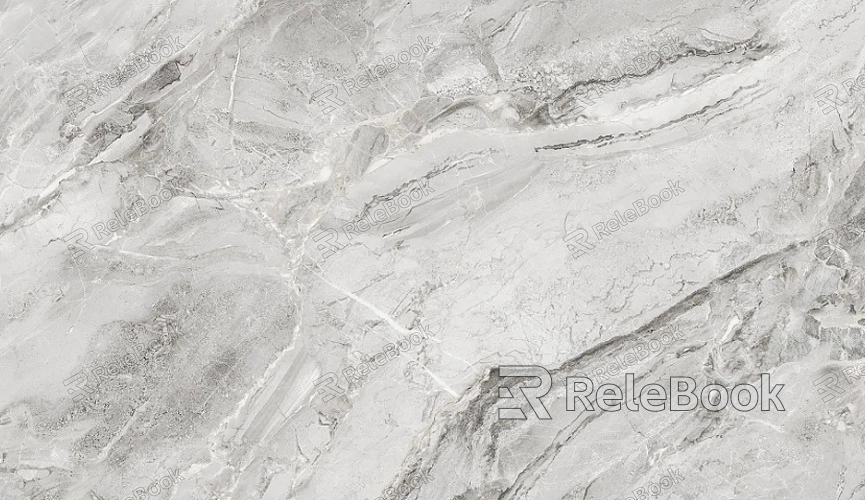
For instance, if you’re creating a texture for a rocky surface, you might use rough brushes or texture patterns to simulate the rock’s appearance. To make the texture more realistic, add noise, color variations, or other random elements.

Creating a Normal Map
A normal map is a common type of texture used in 3D rendering to simulate surface detail by altering how light interacts with the surface without adding extra geometry. While creating a normal map might seem complex, it’s achievable in GIMP.
First, use your base texture as a reference image. Apply filters like Gaussian Blur or others under the “Filters” menu to create bumps or grooves in the image. Next, use the “Normal map” plugin to convert these details into a normal map.
After installing the plugin, go to the “Filters” menu, select “Map,” and choose the “Normalmap” option. Adjust the plugin’s settings to generate a normal map that enhances the texture’s depth and complexity. While normal maps don’t alter the model’s geometry, they greatly impact how light interacts with the surface.
Creating Roughness and Metallic Textures
Roughness and metallic textures control the material’s reflective properties. Roughness maps determine how smooth or rough a surface appears, while metallic maps define whether a surface behaves like a metal.
In GIMP, these textures are typically created using grayscale images. Darker areas represent smoother or non-metallic surfaces, while lighter areas represent rougher or metallic surfaces.
Use GIMP’s brightness and contrast adjustment tools to fine-tune these maps to match your model’s needs. The gradient and blur tools can also help create smooth transitions, ensuring your textures look more natural.
Applying Textures to a 3D Model
Once your textures are ready, the next step is to apply them to a 3D model. While GIMP doesn’t support 3D rendering directly, you can import the textures into other 3D software such as Blender, Maya, or ZBrush for application and rendering.
To apply the textures:
- Import the base texture, normal map, roughness map, and metallic map into the 3D software.
- Assign the respective texture images to the model’s material slots in the software.
- Adjust the scaling, tiling, and UV mapping of the textures to ensure they fit the model correctly.
By following these steps, you can seamlessly integrate textures created in GIMP into your 3D models for a professional finish.
Boosting Efficiency with GIMP Plugins
To enhance efficiency when creating 3D textures, consider using GIMP plugins to expand its functionality. Commonly used plugins include:
- Normalmap Plugin: Generates normal maps from 2D images to simulate surface details.
- G'MIC Plugin offers numerous image processing filters, including texture creation and pattern generation.
- Map Object Plugin: Allows you to preview textures applied to simulated 3D objects, helping you evaluate their appearance.
These plugins can simplify the texture creation process and offer greater flexibility and precision in your workflow.
This guide has walked you through the process of creating 3D textures in GIMP, from designing base textures to generating normal, roughness, and metallic maps. With GIMP’s robust image editing tools and plugins, you can produce high-quality textures tailored for 3D modeling. If you’re looking for premium 3D models and textures to complement your projects, visit the Relebook website to download the resources you need.
FAQ
How do I create 3D textures in GIMP?
You can create 3D textures in GIMP by designing base textures, generating normal maps, and creating roughness and metallic maps. Use GIMP’s drawing tools for the base texture and plugins like “Normalmap” for generating other texture types.
What types of 3D textures can I create in GIMP?
GIMP supports the creation of base color textures, normal maps, roughness maps, and metallic maps, among others. These textures can be exported and used in 3D modeling software.
How do I generate a normal map in GIMP?
To generate a normal map, use the “Normal map” plugin. Start with your base texture, then apply the plugin to convert the details into a normal map. Adjust settings to optimize the effect.
How do I apply GIMP-created textures to a 3D model?
Export the textures and import them into 3D software. Assign each texture to the corresponding material channel, adjust scaling and UV mapping, and render the model to see the applied textures.

